
Does your iMac or MacBook Pro camera not work in the latest edition? Apple optimized the software for performance and stability, but it doesn’t mean that the software is close to perfection. Users can solve the issue by applying software-based solutions, and it will help the readers determine, whether this is a hardware or software problem.
Why MacBook Pro Camera is not working?
In most cases, it is the software and privacy policies that prevent the camera to run. Apple takes safety measures to block programs and apps to access the microphone & camera. The world has changed drastically, where citizen’s or customers’ data is the new oil. The Cupertino-based company selling point is “Privacy”, and they cannot let any random or reputed program take control over the camera. You may not know this, but macOS has tons of bugs & glitches that come with new releases. Apple released six operating system updates in five months to fix known bugs and glitches. Nothing is surprising about the non-working hardware components in macOS.
Overall, macOS designed to bring privacy into the device owner’s hands and you can disable/enable features. Let’s fix the MacBook camera is not working issue in the latest Big Sur.
Turn off the Mac or MacBook and turn it on
Restart the Mac computer, and that’s the fastest way to solve the problem.
We have mentioned bugs & glitches above because they do exist in the latest edition, and Apple is focusing on fixing them each month. We recommend the readers restart the Mac to end the session and dump the session data in the bin.
- Click on the Apple logo located at the top left.
- The drop-down menu will have a “Shutdown” option, and click on it.
- Wait for two minutes and power on the Mac computer.
The new session will create new temporary files thus, the Mac camera will start working normally. A quick restart should help the users to solve the camera problem, but if it doesn’t then you can move on to the next solution.
Give Webcam Permission
Remember, we spoke about “Privacy” in Mac, and Apple designed the software to restrict the programs to access the camera. Follow our simple guide to find all programs that require camera access, and you can enable/disable the access from there.
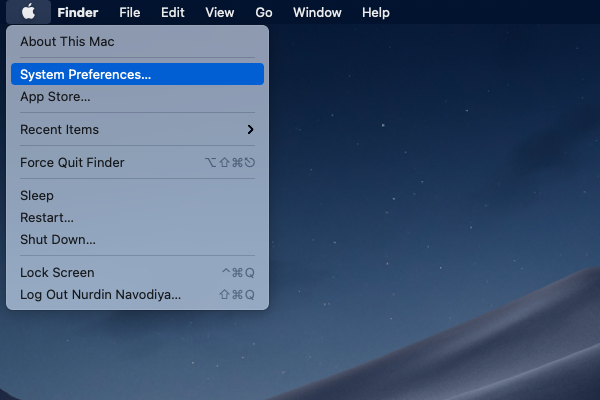
- Click on the Apple logo located at the top left.
- The drop-down menu will have the “System Preferences” option, and click on it.
- Choose “Security & Privacy” from the list.

- Choose “Privacy” from the options.
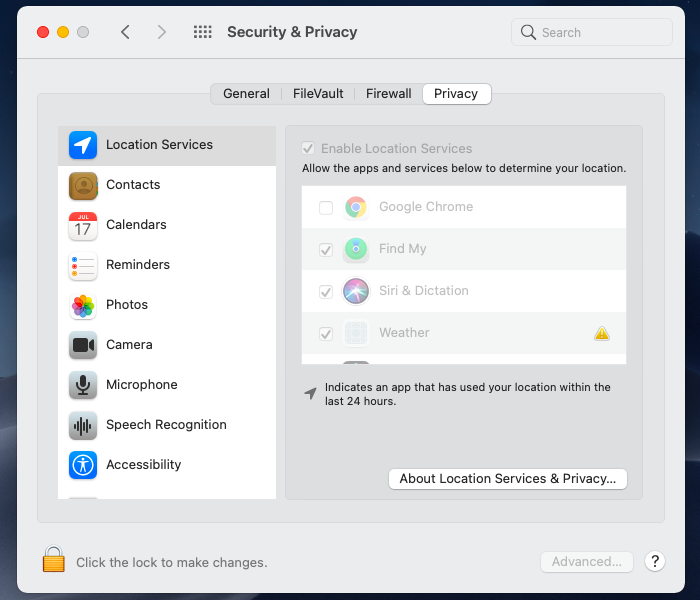
- Click on “Camera” to find out which program requires camera access.
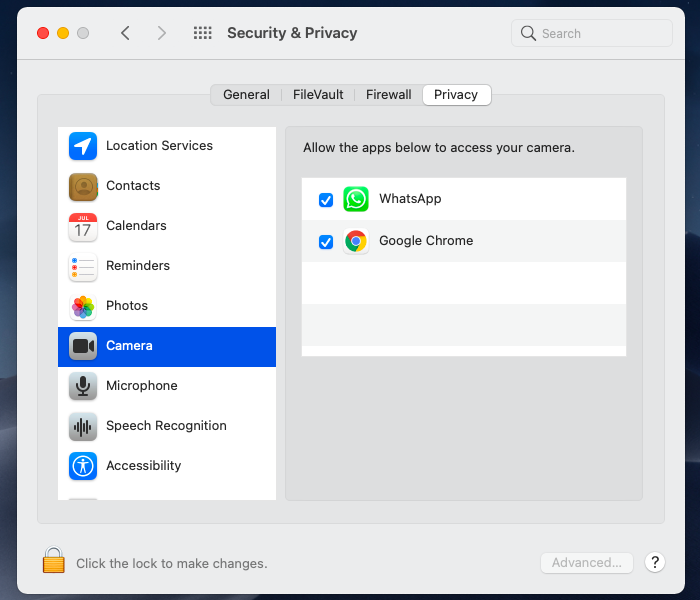
You have to click on the program to mark it, and that’s when macOS will allow webcam access to the program. If you are using Discord and want to share the camera then you have to give the program access from Camera options. Mac computers have strong “Privacy” options to prevent eavesdropping and surveillance by unauthorized services.
Confirm Screen Time Permissions
Apple took one step further to convince parents to buy the young ones Mac computers, and they achieved it by introducing Screen Time on Mac. The Children Privacy settings called “Screen Time” allow the parents to block it. Users have to ask the parents to remove that restriction, or else, the programs cannot access it.
- Tap on the Apple logo located at the top left.
- The drop-down menu will have the “System Preferences” option, and click on it.
- Choose “Screen Time” from the list.
- Choose “Content and Privacy” to continue.
- In the “Allow”, you will have the “Camera” option and click on it to enable it.
Mac users can allow programs and apps to access webcam for video calls & video conferences. Screen Time is a powerful tool, so double-check the changes because one mistake is enough to block the camera from Mac.
Camera Detection (Inbuilt)
Millions of MacBook Pro, MacBook Air, and iMac consumers utilize inbuilt webcam for high-quality video calls. As we have mentioned earlier, Apple macOS is not perfect, and the hardware may not have detected by the software.
- Click on the Apple logo located at the top left.
- The drop-down menu will have “About” and click on it.
- Select “System Report” from the top menu.
- All hardware components are listed under “Hardware” and choose “Camera” from the hardware list.
- The internal camera should be listed in the “Camera” hardware list.
In case, if the internal camera is not recognized, then you can seek assistance from Apple. Remember, Apple quotes expensive repair costs, and we would stick with an external webcam as it is cheaper to replace.
Camera Detection (External)
Above, we have suggested that an external webcam is a good replacement for the non-working inbuilt camera. However, if the USB device is not working in MacBook Pro, then you can find out whether it is recognized by Mac or not.
- Click on the Apple logo > About > System Report.
- Choose “USB” from the hardware list.
- You will find the external camera USB hardware list.
If the USB webcam is not recognized by Mac, then you can troubleshoot. Contact the camera manufacturer for further support because they can provide voice assistance. A quick Google search can help the readers to find guides on solving the webcam detection problems in Mac.
Bottom Line
There are many ways to fix the Mac PC camera not working in the latest Big Sur. Readers are suggested to update the macOS software but make sure to read reviews online to prevent major shortcomings by Apple.