
High disk usage service host SuperFetch is no stranger for Windows 10 consumers, and the latest updates are giving birth to new ones. Windows 10 is the latest operating system offered by Microsoft and the company pushing the security updates and new features to the users.
SuperFetch is a process that causing a lot of pain for Windows 10 consumers lately. High CPU usage by “Service Host: Superfetch” consuming a lot Random Access Memory and you can monitor it in the task manager.
What is Superfetch and Why is it using so much memory?
SuperFetch is a new invention from Microsoft that designed to manage memory. The new RAM management program continually works behind the scenes to optimize the PC. The memory management tools enable users with more free RAM so that they can utilize it for other functions.
Millions of Windows copies running on a wide range of hardware and the components aren’t similar to one computer to another. SuperFetch is a smart management tool enabling the programs to submit appropriate cache that utilized later. A tool is a deciding machine which determines the final outcome, whether to dispose of the program or not.
I have mentioned about hardware differences, and Microsoft cannot provide one solution for evolving hardware. In the matchup of RAM management, SuperFetch makes an inadequate decision that ends up in caching problems for low-end machines. Nowadays, Core i5 8th Gen models are struggling to maintain a balance as SuperFetch consuming a lot of RAM. It does impact the overall performance of the computer.
Do we need Superfetch in Windows 10?
Everything boils down to one question, does disable SuperFetch impact performance of my Windows PC? The newly found SuperFetch does not impact overall performance or cause any errors.
Microsoft considers service host SuperFetch 100 disk as an add-on necessary for a smoother experience, and it isn’t a “very much needed” program. Let us assume that the consumer disabled it successfully and shut down the PC. The next morning, after turning on the machine, you face an error, then what?
Do not mistake an error the very next morning and conclude that is triggered because of the earlier action. I recommend Windows machine consumers to create a restore point. However, SuperFetch is a service designed to manage RAM and disabling it doesn’t create any mess.
Do not worry about disabling it because you can create a restore point, and in case, if you feel like going back to the earlier, then it will come handy. The command line process will come into assistance, so it would be difficult to revert the changes manually. Make sure to create a manual restore point, just in case.
How Do I Disable Service Host SuperFetch?
Disable SuperFetch (SysMain) through CMD
I am going to use the CMD or Command Prompt technique to disable the function. The instructions are going to assist a beginner as well, and there’s nothing to worry about complexity.
- Windows key + S and then type Command Prompt and then run as administrator.

- Enter “net.exe stop superfetch” in the command line and hit enter to proceed. You have to stop the running process or else, and the function will deny the disabling the feature.

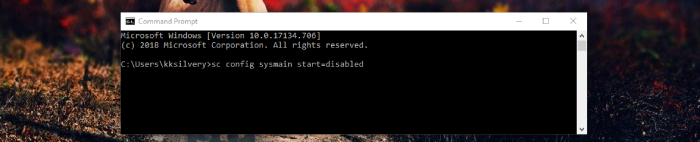
- Now, you have to type “sc config sysmain start=disabled” and it will disable the function permanently.
Of course, you can restart the function later on. I am going to mention another method to disable it, and it offers manually enabling as well.
Stop Service Host SuperFetch Manually
The traditional Windows services have the option SuperFetch, and you can disable the service manually. However, I have noticed that services automatically start despite we have updated with new settings. The command prompt process permanently disables it until or unless you have enabled it manually.
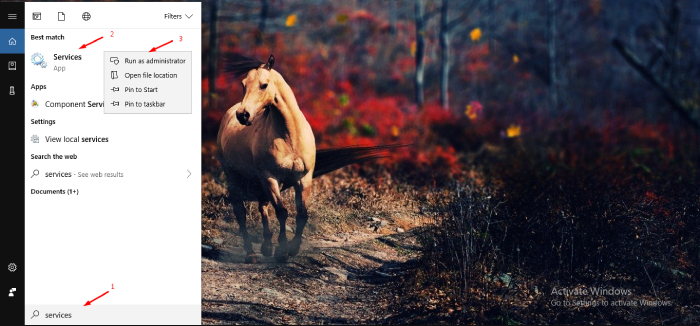
- Windows key + S and then type “Services” and then run as administrator.
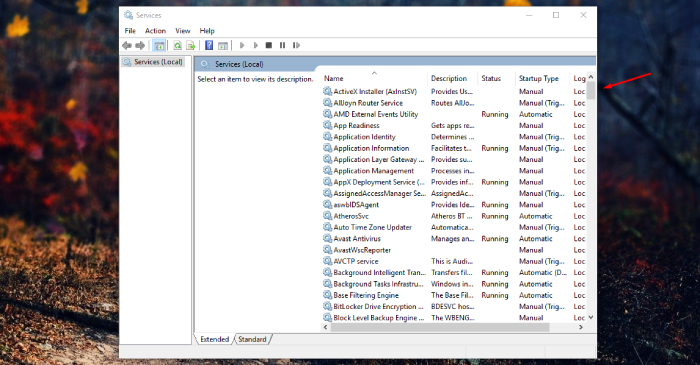
- The services page will show up on the screen and then scroll down. The order follows alphabetically, so the SuperFetch option is easier to locate.
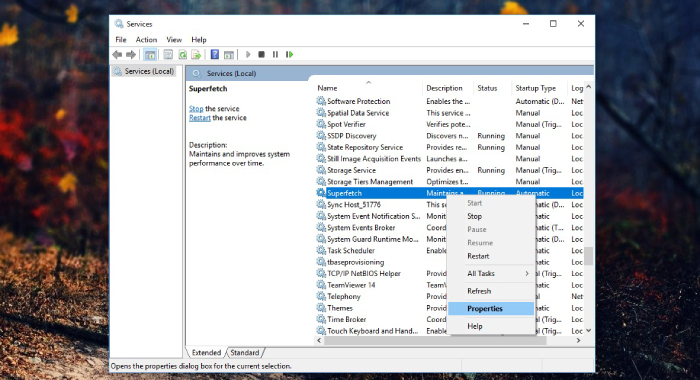
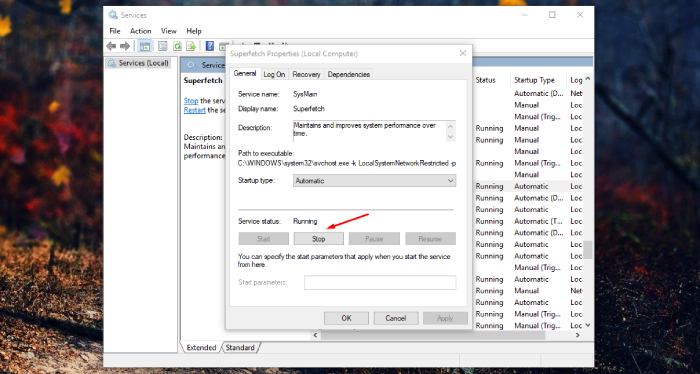
- Locate the SuperFetch, and then right-mouse click for more options. I have clicked on properties, and that’s where the entire configuration takes place.
- First, we have to stop the running process because that’s the first way.
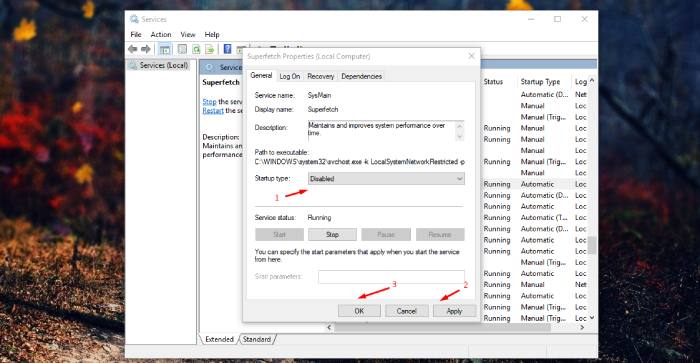
- Change the start-up type to DISABLE and then click on “OK,” then “Apply.”
The second method implies to all Windows versions such as 7th edition. I already mentioned about the reverting process, where Windows automatically undo the changes on its own. I recommend Windows consumers to process the first method because it is a permanent solution.